Autodesk Mudbox

Sculpt detailed characters and models with this 3D digital painting and sculpting software


PRICE AVAILABLE ON REQUEST (info@dream3d.co.uk)


Please scroll down to find full product specs, features, videos and more 👇


Product Details

Pictures & Vidoes

Buying Options

Product details

What is Autodesk Mudbox?

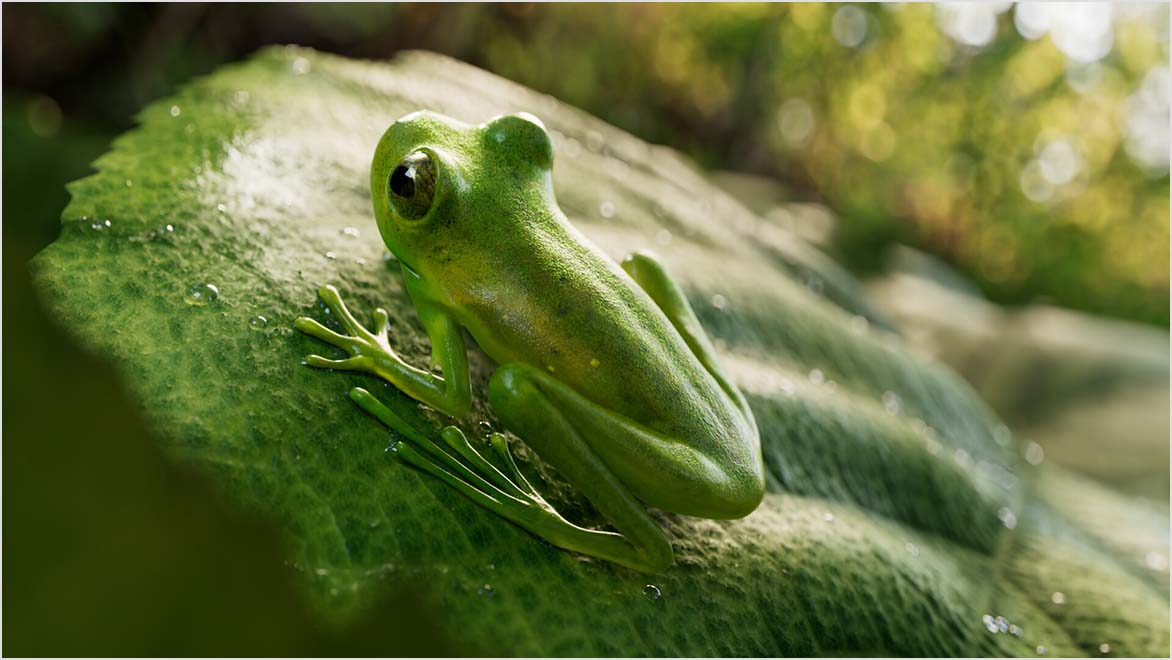
Mudbox® software is a digital 3D sculpting and painting tool for creating detailed characters and environments with beautiful textures.

  • Bring 3D designs to life with intuitive sculpting tools.

  • Add final touches to models with flexible texture painting capabilities.

  • Work faster with an easy-to-use layer-based workflow.


CG render of a green Andes giant glass frog laying on a leaf, made with Autodesk Mudbox
Andes giant glass frog (Espadarana Andina) by Saksham Kumar

Why use Mudbox?

What you can do with Autodesk Mudbox?

CG render in Autodesk Mudbox of a diver facing a massive sea monster


Sculpt 3D characters and detailed environments

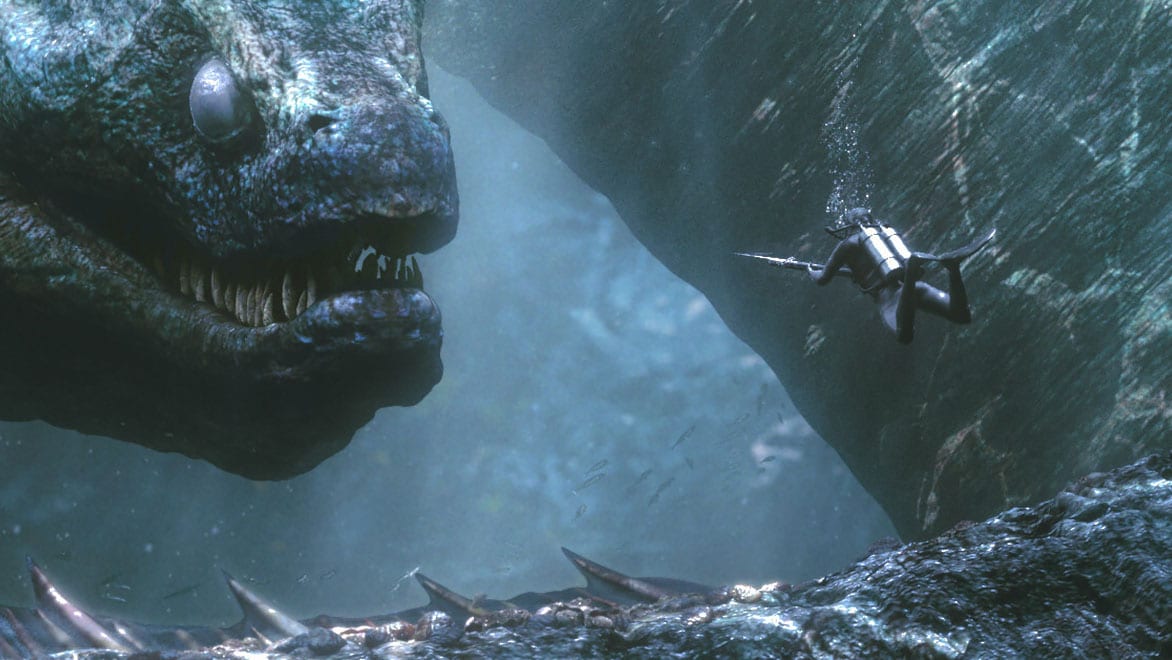
Create clean and production-quality meshes from scanned, imported or sculpted data using advanced retopology tools.

CG render in Autodesk Mudbox of a Doberman dog with head tilted

Add finishing touches with texture painting tools

Manipulate 3D models by painting directly onto them across multiple channels or by adding resolution to a mesh in places that need it.


For the full archive of features and instructions please see here: Mudbox Help | Retopology | Autodesk

Paint a model

The Paint Tools let you apply digital paint to your models in Mudbox.

Along with PTEX painting, two basic paint modes are available in Mudbox:

  • 3D Paint: Paint is applied directly to the 3D model.
  • Stencil Projection: Paint is projected onto the model through a 2D stencil image you specify and the color properties of the stencil image are applied to the model as you stroke over it in the 3D View.

Using these two paint modes in combination with the tool properties and other bitmap images provides the possibility for an unlimited variety of brush tips.

In this lesson, you’ll learn the basics of both techniques to apply paint to the sphere. (For more information on PTEX painting, see PTEX painting overview.)

  1. From the main menu, select File > New Scene, then click Don’t Save in the New Scene window.
  2. Select Create > Mesh > Sphere.
  3. In the Paint Tools tray, select the Paint Brush.
  4. Stroke across the model to begin painting.

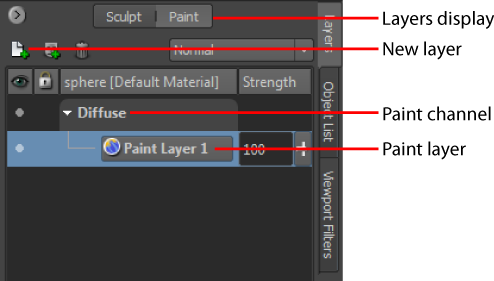
    The Create New Paint Layer window appears before any paint is applied, because you need at least one paint layer to paint on a model. The paint layer stores your paint as a bitmap image.

    For more information on paint layer options see Create a new paint layer. (The default layer settings are sufficient for this lesson.)

  5. Click OK to create the new layer.

    Mudbox creates a paint layer called Paint Layer 1 and you can now paint on the model.

    Note that the Layers window automatically switches to display the Paint Layers window.

    Note: The paint layer appears in the same Layers window location as the sculpt layer you created in the previous lesson. The Layers window displays both sculpt and paint layers, depending on which display option you select at the top of the window.
  6. Stroke on the model to apply paint.

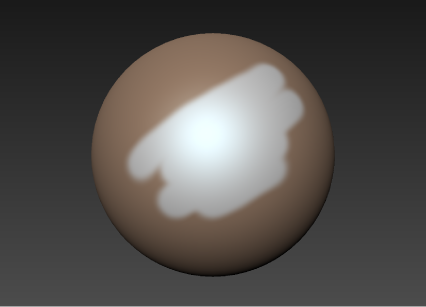
    The default paint color is white.

  7. To change the paint color, click the Color box in the Properties window.

    The Color Chooser window appears.

    Tip: Press I and click to sample a color in the 3D View. For more information, see Copy color from a model.
  8. In the Color Chooser window, select a preset color from the array of color tiles or create a custom color by clicking the color wheel, then click Done.
  9. Paint on the sphere.
    Tip: You can change the Size (B + drag) and Strength (M + drag) options for the Paint Brush the same way you did when using the Sculpt tool.
  10. To erase paint, select the Paint Erase tool  from Paint Tools tray, then stroke across paint on the model.

    You can also press Ctrl + Z immediately after painting to undo a stroke.

Paint using stencils

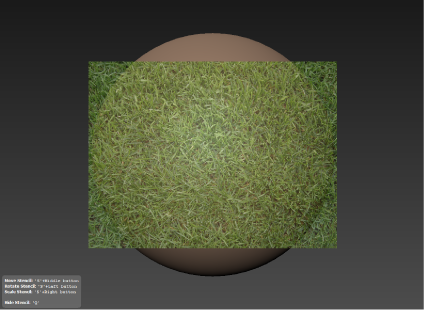
You can load images or textures into the 3D View and project a portion or all of an image onto a model.

  1. In the Paint Tools tray, select the Projection brush.
  2. In the Stencils tray, select the grass stencil image called rgb_grass.jpg.

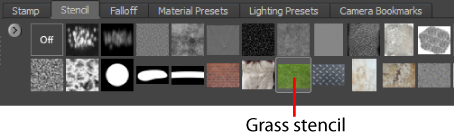
    Mudbox loads the grass image as a stencil at the center of the 3D View. If the grass image fills the entire 3D View, press the S key while right-dragging to scale the stencil smaller. For more information, see Move rotate or scale a stencil.

  3. In the 3D View, dolly, track, or tumble the view so the sphere is positioned where you want it to receive paint in relation to the stencil image.
  4. Stroke on the stencil to paint using the Projection brush.

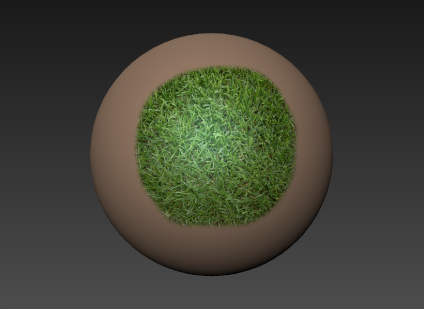
    The grass stencil disappears as you stroke and paint is projected onto the model based on the stencil image. The stencil reappears after each stroke.

    Note: You can adjust the transparency of the stencil in the 3D View by adjusting its Visibility property in the Advanced section of the Properties window. Adjusting this property does not affect how paint is applied to the model, it simply makes it easier to see the model behind the stencil in the 3D View.
    Note: The Create New Paint Layer window doesn’t appear since a paint layer already exists. In this lesson you apply the stencil paint to the existing paint layer. In your own work, you may want to create a new layer to keep the stencil paint separate.
  5. When finished using the Projection brush, click the Off icon in the Stencil tray to quit the stencil. (Otherwise, the stencil remains active on the Projection brush.)


Buying Options

Debit/Credit Card (VISA/MASTERCARD/MAESTRO/AMERICAN EXPRESS)

Business Account Credit Terms – between 30-60 days – Please email us at Orders@Dream3D.co.uk

PayPal

Klarna

stripe

Bank Transfer – Please email us at Orders@Dream3D.co.uk

Business Finance Lease – Please email us at Orders@Dream3D.co.uk to find out more

Need help? +123-456-789

Back to top
Select the fields to be shown. Others will be hidden. Drag and drop to rearrange the order.
  • Image
  • SKU
  • Rating
  • Price
  • Stock
  • Availability
  • Add to cart
  • Description
  • Content
  • Weight
  • Dimensions
  • Additional information
Click outside to hide the comparison bar
Compare

Contact us for a quote